Archive

Archive for November, 2014

Simple Tricks in Tiling Anything

November 30th, 2014 No comments

Whatever your tile project, you can apply a few simple tricks to get yourself on the way to a pleasing result.


Your brain on tile

Your brain on tile

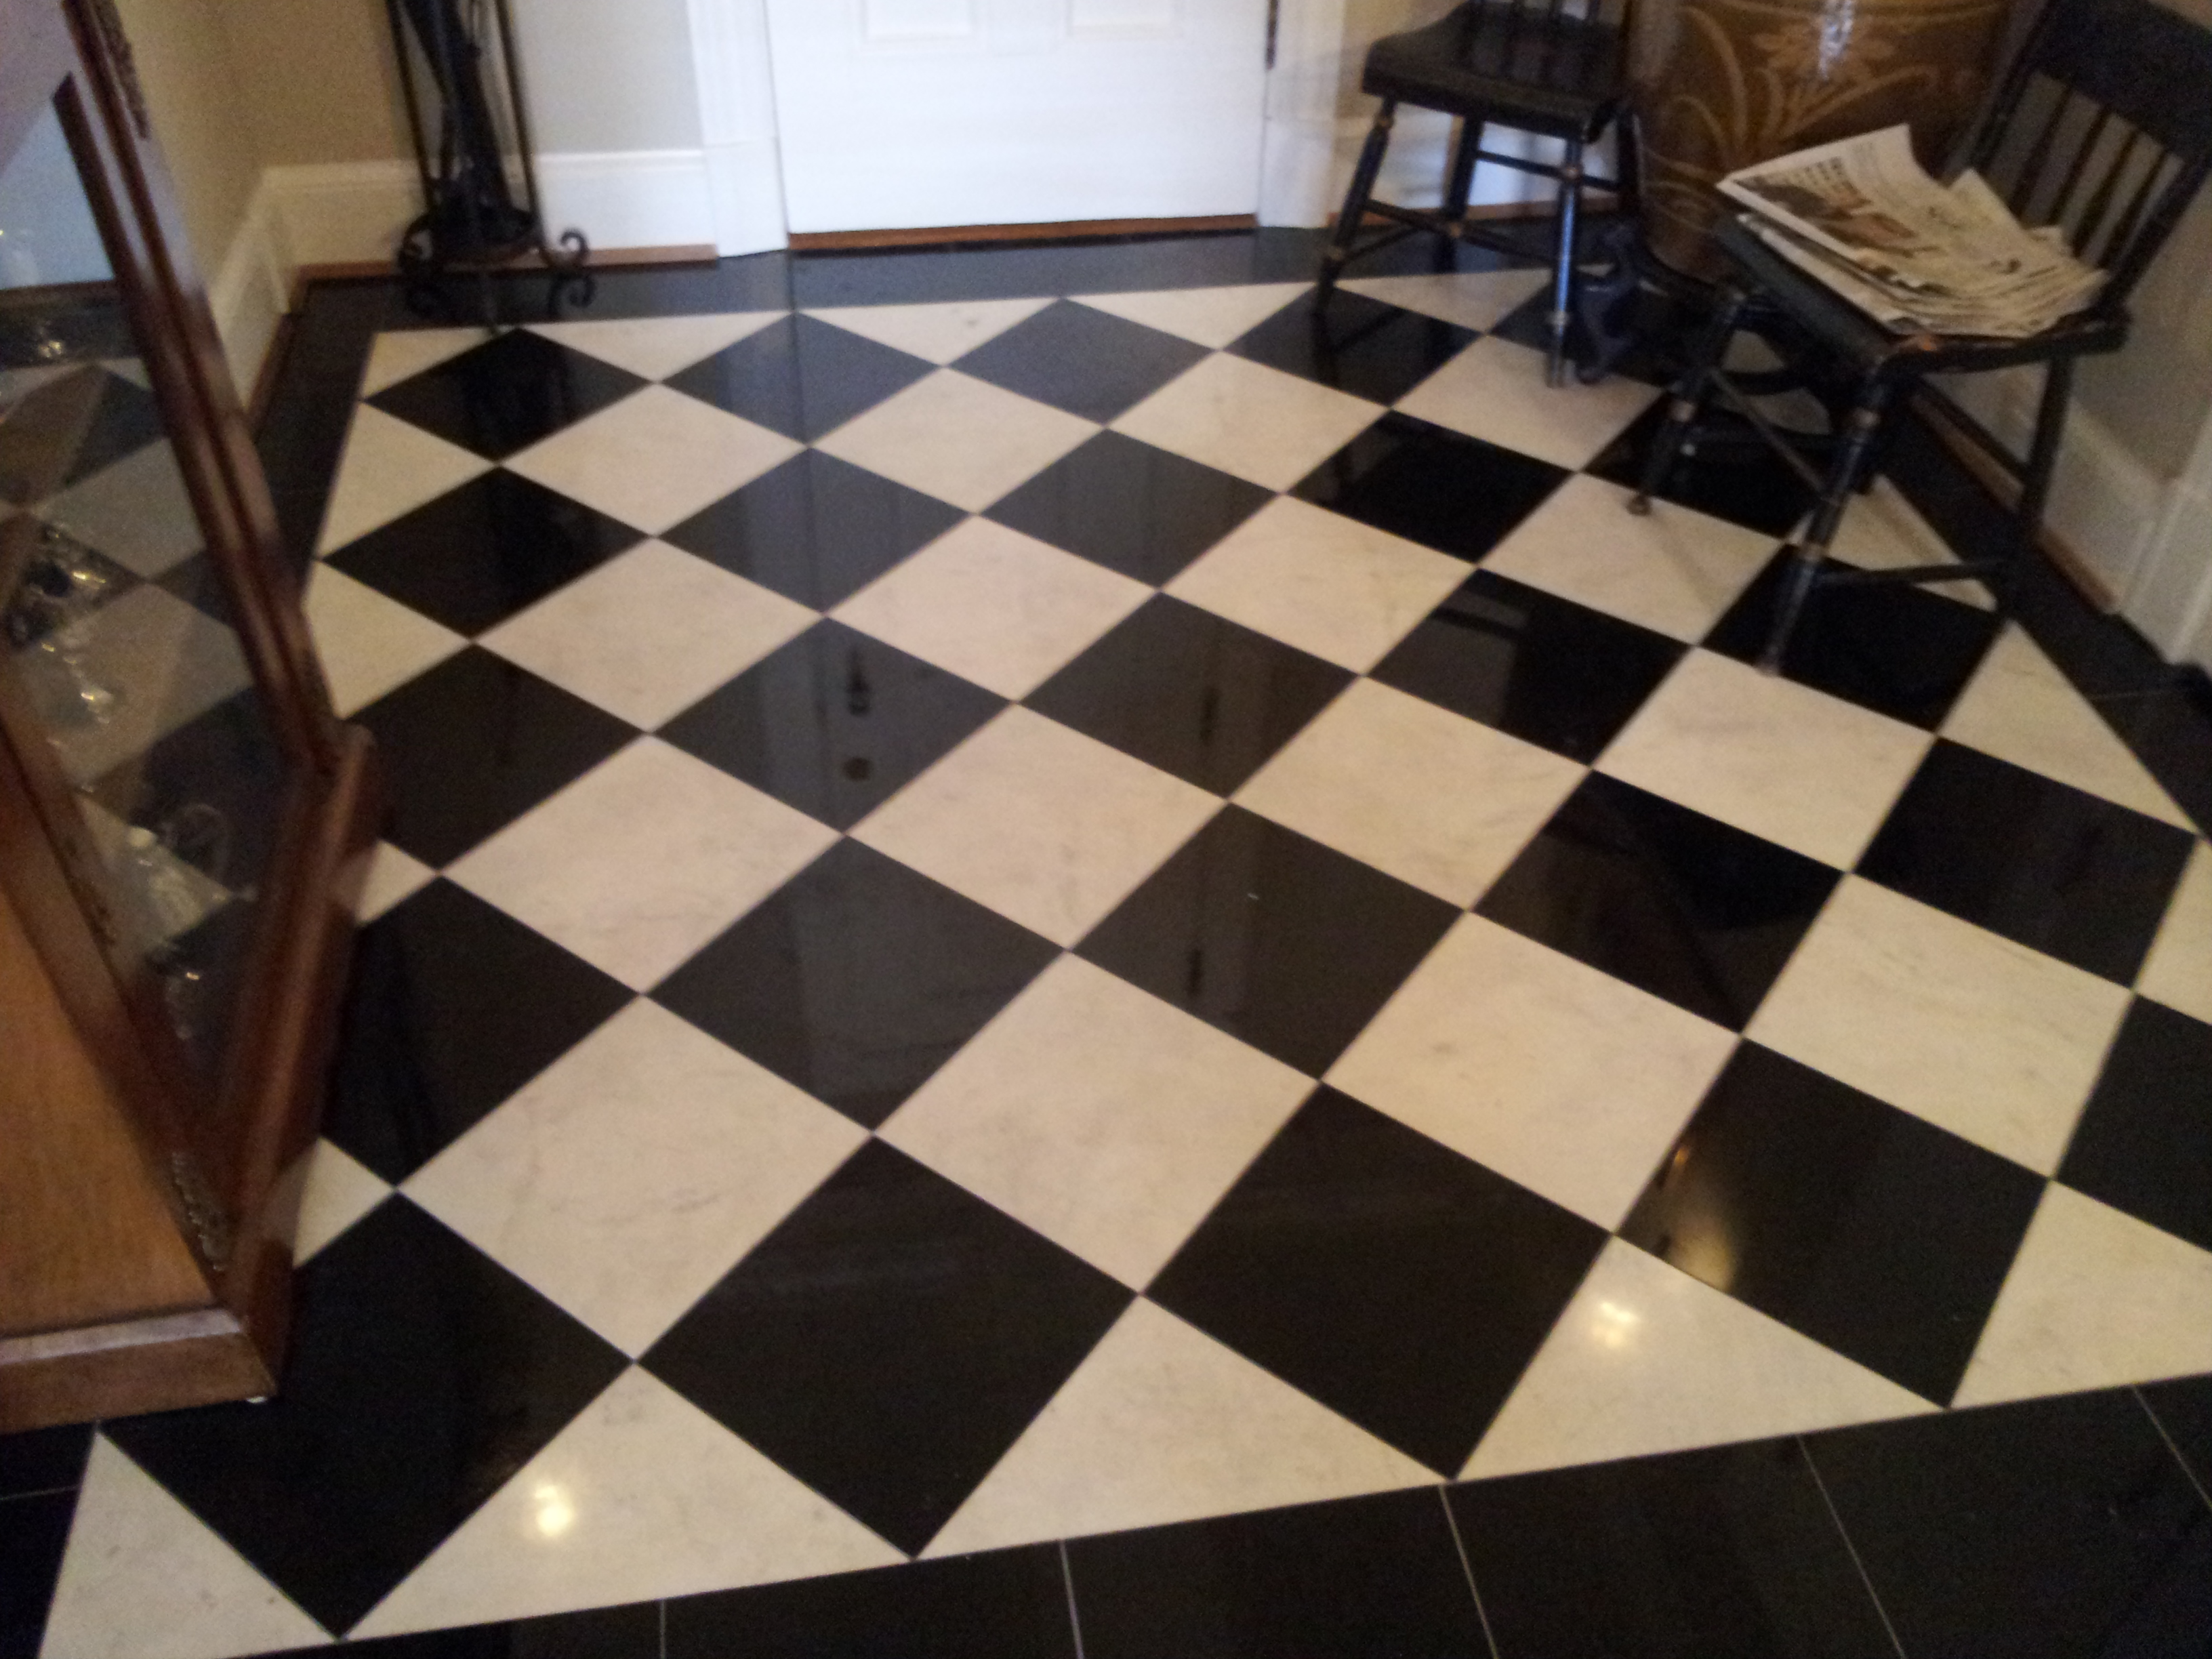
I am not going to talk about setting the tile, but the process before you set the tile.  You must do a little preliminary thinking and planning so you know where you are going.  No one has developed a GPS for tiling yet, so my job is still safe.  The tricks are short-cuts to getting started and staying honest, and will help keep you on track.

One trick, good for back-splashes and tub surrounds, is to take the tile you will be using and rest it on the kitchen counter top or bathtub, with your trusty pencil on top of it, and scribe a line by moving the tile and pencil together, at this (1) tile height, all along the length of what the tile will sit on. 
This does not seem like it accomplishes much but now you can place your level, (you do have a level, don’t you) on or under that line and see if the line and the surface under it are level.  This is especially good for tubs which are notorious for not being level.  Most plumbers will use a short torpedo level and this does not tell the whole story.  Countertops are usually set level, but tubs often are not straight and flat; plus they are almost never set perfectly level.  Now you know where your tile wants to be.  And also what the surface under it is doing.
 
If you make the assumption that you can simply start setting tile on top of whatever surface you will be working on, you may find that the tile is not “running” right, the lines are crooked, and the corners do not mate up.  Usually you have to trim the tile to fit if you want a consistent line between the first row of tile and what is under it.  That is why it usually takes a little time to get that first row right and allows you to continue up the wall correctly and I might add, easily. 
 
Another trick is to scribe a plumb line at the rough center of the wall to be tiled.  Bisect the wall and use your level vertically to write a line from bottom to top.  If you have trouble with reading the bubble in a regular level, there are digital levels with digital read-outs, but they tend to be expensive.  Having a center line will tell you the sizes of the tile cuts you need to make if the adjacent walls vary or are themselves not plumb.
 
A third trick, similar to the first trick, which works for floors too, except you will use a chalk line or chalk box, to establish a “straight” line.  Find the longest straight wall along the floor you will be tiling.  Place one or two tiles on the floor next to the wall at two different locations along the expected run of tile.  Evenly space the tiles with the width of the grout line you think you want.
Now, with your good buddy holding the other end of the chalk line, place and hold the chalk line next to and parallel to the tiles you have carefully positioned at two different locations along the wall.  Holding the line tight (stretched out taunt to create a straight line), snap the chalk line, creating a line of chalk on the floor and giving you a reference line.  (Chalk is available in different colors. blue being common, white sometimes useful, orange, and red which is hard to remove if it gets tracked onto your new carpet.  Some folks spray the final chalk lines with some clear lacquer to preserve it through the life of the job.)
Now you can measure the distance to the wall at different points along the wall and see if the wall itself is ‘straight”.  You can also measure over to the opposite wall and see if it is parallel to your chalk line, which is your new best friend, a trusted reference point.  Big clue: Walls are never straight and can vary from fractions of an inch to several inches.  Also now you can adjust your layout to account for these deviations.  Usually you want roughly the same size of tile on both sides of the installation.  You do not want to end up with a one inch piece of tile on one side because you thought it was easier to start with a full tile on the opposite wall.  But if you are happy with the layout and the look you are starting to envision, you are good.  By the way, figure the layout first in one direction (left-right) and then in the other (front-back) to arrive at your final layout.  
Depending on the type of pattern you decide to use: running bond (like brick or subway tile), ‘jack-on-jack’,(one tile over the other), herringbone, rosette, diagonal, and others, you can adjust the layout to your needs.
Some other little tricks I can suggest are always using a minimum of two rows of tile so that you can see what the tiles lines are doing, having and using those little plastic ‘wedges’ we tile folks use for fine alignment of tile ( we used to use toothpicks before there were wedges), assuring that walls are flat and smooth and in “plane” even if it means you have to lose a day and do a little preliminary plastering, and making sure your adhesive is the right consistency, not too soupy and not too thick, and, of course, using the right size of trowel for the thickness of the tile you will be using.  If you work with patience and in a sequential and deliberate manner, you will be rewarded with the satisfaction of a beautiful tile job.  Good Luck !    “A thing of beauty is a joy forever.”


Twenty Common Ways for Tilework to go Wrong- A Short List

November 28th, 2014 No comments

These are some of the many ways mistakes can be made in a tile installation. I have probably done most of them myself at some point in my long years setting tile, though most at the very beginning before I knew what worked and what did not work.
However, great pains were always taken to assure the substrate was more than adequately prepared, stout enough, and rigid enough to support the tile itself which is not capable of bending or flexing. If the tile is stressed by movement in the floor, it will likely eventually crack and fail. A tile job where all or many of the grout joints are cracked indicates there is substrate movement and/or the tile is not set properly.

1. Tile or substrates are too cold to properly adhere before the adhesive dries.
2. The wrong adhesive is used to bond the tile.
3. The tile is set crookedly or unevenly.
4. Edges of the tile are left sharp or raised up.
5. The tile is not ‘centered’ in the space it is supposed to be in.
6. The substrate is improperly prepared, loose itself, or simply the wrong material. ( too thin, not adequately attached, flexible, not screwed or nailed down )
7. The wrong size notched trowel is used and there is insufficient glue (mastic) or mortar for bonding.
8. The mortar is the wrong consistency, too soupy or too dry.
9. The tile is not ‘back-buttered’ to assure 100 % contact with the mortar, leaving voids.
10. The tile layout leaves really skinny pieces in odd places and detracts from a pleasing look.
11. The tile layout is crooked, off center, or ‘catches your eye’, and just looks wrong.
12. Corners of the tile look saw-toothed and are not aligned.
13. The concrete board substrate did not get fibreglass taped at all the seams.
14. Nails or screws were put in the wrong places; through the shower pan liner, into pipes, or left out.
15. The tile is not set or ‘bedded’ sufficiently.
16. The spacing between the tiles is inconsistent or too gappy.
17. The tile needed to be wetted, soaked before installation and this was not done.
18. The mud work was improperly done, or inadequate.
19. The grout was improperly mixed, badly applied, cleaned with too much water, or left on the tile. This is a big one.
20. Stone or tile requiring sealing is not sealed.

These are some of the ways a tile installation can go bad. Having to tear out the whole job, lose the cost of the material, endure water leaks through your dining room ceiling, not to mention the time and aggravation involved to do it over, are all reasons to be sure you have all the right ingredients, solid preparation, and a patient and careful craftsman doing your work. It is not brain surgery, folks, but it is not without it’s pitfalls.

Categories: homeowner guides Tags:

Setting Tile – The Elemental Rules by Bart Raguso

November 26th, 2014 2 comments

Setting Tile Rules by a Tile Mechanic
Philosophy

Since we proceed not in logical and rational straight lines all the time, the rules which govern tile installation are generally not the rules which govern ordinary life.  Tilework follows certain irrevocable rules such as being level, plumb, straight, flat, even, and regularly spaced.  These are not qualities normally found in nature or the natural world. You could say that the final look represents certain human values expressed in a concrete and specific way.    It is not modern art, but it is, however, extremely visible and ‘in your face ‘.  A crummy tile job is distasteful to all who gaze upon it.

Reality

In the world of tile, ( ‘the queen of the trades’, so named because it is finish work ), the final work rests on the integrity of all the work which preceded it, and thus the tilework is only as good as it’s foundation and all the work which supports it.  If there is a problem with the foundation, the footers, the framing or placement of steel beams, the squareness of the rooms, the crookedness of the walls, or the flatness of the floors, then those mistakes will not only reveal themselves, but will be accentuated because with the even lines of the tile, all the flaws of the substrates become more apparent.

Setting Tile

Then there is the mystery ingredient of how well bonded or well stuck the tile is to whatever it is being attached to.  In a bad job, the tile simply follows the greater truth of gravity, and falls off the wall or the floor.  Having loose tiles is definitely an unhappy result.  Tile which does not remain where it is supposed to be violates the whole reason for setting the tile in the first place.
A tile must be properly “bedded” to be set right. That means pushing or beating the tile into the mortar either manually or with a mallet or beating block ( a carpet covered wood block ). It is amazing that beating on a tile will not break it, but it won’t unless you do not have enough mortar under it or it is an extremely cheap and thin ceramic. Some marbles with a lot of veining or crystal, like onyx, should not be beaten.  But generally, we like to say, the beatings will continue until morale improves or the tile is bedded.

Issues

For all these reasons, there are many ways for a tile installation to go wrong.  (*see “Common Tile Problems”) Having seen a lot of fouled up installations and repaired them, I can definitely say failure is always a definite possibility and the inevitable result of taking short-cuts in the proper sequence of the installation.  Construction work is all about sequence.  You do not paint before you sand.  You do not run the pipes or the wires on the outsides of the walls, although I have seen it done.

Country Wisdom

Like many other things in life, the seven P’s have to be observed:
“Prior Proper Planning Prevents Piss-Poor Performance”
I have to credit a country boy for reminding me of this statement. I learned tilework first from some country boys and they taught me true.  All good things flow from good values.  The eternal verities are called that because they are always right.  Integrity in the installation does not happen by accident, but by conscious choices made along the way. Without the desire to do a good job, any endeavor has two strikes against it from the beginning.

How to Approach the Work

I sometimes think that people pay me for my patience and tranquillity, for without those qualities, it is not possible to do good work.  All good craftsmanship and good tilework are about the same things.  Qualities that make a good craftsman are the same for doing anything well.  They are:

1- Putting your mind in a calm state so that you are not ‘rushing’ the job,

2-Making sure you have the tools, time,and materials that you need,

3-Envisioning the final result in your mind before you even begin,

4-Keeping the proper sequence in mind as you progress,

5-Knowing when to take a break ‘when’ not if, your energy or concentration starts to flag. ( A dull knife is dangerous.)
If you can keep these fundamentals in mind, your tile installation will likely be a solidly attached, permanent, and pleasing result of your efforts.         Bart Raguso

Understanding Tile and PEI Ratings

November 21st, 2014 No comments

In general, for most people’s purposes, tile can be divided into a couple of categories, such as tiles suitable for walls (baths, showers, back-splashes, fireplaces) and tiles suitable for floors, (shower floors, foyer entries, kitchen floors, sun-rooms, hearths, exterior porches and walkways, etc.).
The composition of the clay body,  how densely the clay body was pressed when made,  and whether it is glazed, unglazed, or honed to a matte or polished finish, are all things which determine where it can be best used.
The main types of tile are ceramic, porcelain, marble, stone, and granite. All have different characteristics and can be used to good effect almost anywhere if set properly.  Even an inexpensive tile can give good service, “ if set properly”.

We have tiled outside roof-decks, stairs both interior and exterior, garages, cabanas, pools, architectural features, mall store façades, and the ordinary tub surround.  Basically, one of the main things about where and how a tile can be used is how much water the clay body of the tile will absorb when exposed to water.  The dividing line between ceramics and porcelain tiles is a little fuzzy depending on the amount of glass in the clay body and it’s density.

“I have see tiles classified as ceramic one year go to being classified as porcelains the next year due to the manufacturer changing it’s formulation.” from Bart Raguso

Ceramics

If you dip a tile into water and you are looking at the back of the tile, and the water quickly disappears and the tile looks dry, you are holding a ceramic tile in your hand.  This type of tile bonds readily to mortar because of this fact, but cannot be used outside where they could be frozen and “spall”, or split apart.  But they are fine for interior applications or in warmer climates.  Most ceramics used to be thicker to increase their strength, but now are thinner. This may have something to do with better manufacturing techniques and the ability to ship more product. I do not know, but if the clay body is red or white, it is usually a ceramic. Ceramic tile is glazed and if the glaze is chipped, you will see the clay underneath.

Porcelains

Porcelains, pavers, and quarry tile have a higher amount of glass in the clay body and are pressed to a higher density enabling them to be used outside and almost anywhere else.  They usually have the same color all the way through ( through-body ) and can be honed or polished to a high gloss like marble or stone. They are ‘harder’ but more brittle and they can still chip if sharply struck.  Mother Nature does not give you something on one side without taking something away on the other.  Also porcelains can be more difficult to bond to your substrate if the right mortar and technique are not used.

Stone and marble

Stone and marble are the classics and have been used for thousands of years by humans, but they demand a little more care and maintenance. If they are in your budget, they are preferred by many for their beauty and timelessness. They are like a little slice of time captured somewhat like a photo and infinitely variable, like the world itself.

Granite

Finally, we come to granite. Granite is almost as hard as diamond as measured by “Mohs’ scale of hardness, the ability of one material to scratch another. Granite is almost 9 and diamond is 10, but the scale is a little like decibels, with variable levels, not an absolutely even scale. There is a great Wikipedia article- https://en.wikipedia.org/wiki/Mohs_scale_of_mineral_hardness if you are so inclined. Anyhow it is hard and is often the choice for a fairly impervious surface, if you like the colors. I should mention some granites are only cousins to the granite family and do also require sealing, like other stone.

To sum up, most all tiles are good, if set right.  What personally resonates with you should be your guide.

The following table sums up the PEI ratings:

P.E.I Wear Ratings

    • from the Porcelain Enamel Institute

      Group I: Tiles that are suitable for residential bathrooms with light foot traffic . Generally wall tile products fall into this group. Some wall tiles can be used on the floor. Consult the manufacturer of the tile for their recommended areas of application.

      Group II: Tiles that can be used in residential areas, but not areas with high foot traffic, such as in kitchens, foyers, laundry rooms, etc.

      Group III: Tiles that are recommended for all residential installations with normal foot traffic.

      Group IV: Tiles that are suited for light to medium commercial applications, such as offices, sales rooms.

      Group V: Tiles used in heavy commercial traffic areas and are suited for exterior areas, shopping centers, airports, hotel lobbies, public walkways.